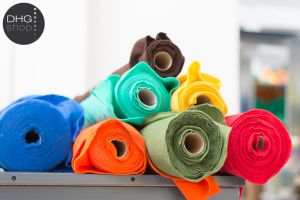
Viscose is a material that blends well with wool. In Russia, a lot and with great pleasure roll with viscose, which gives the felt more plastic, protects it from peeling and beautifully decorates the surface.
The amount of viscose in a felt design can be from the minimum to the predominant, up to 60-70%. When there is a lot of viscose in the work, the felted product acquires additional qualities, while it remains strong, thin, well draped and less creased (when it comes to clothing and accessories), without losing the other advantages of the piled-up thing.
That's why I was happy to help DHG in the development of the viscose tops collection. This article was simply necessary for their assortment.
Tops of viscose: the secrets of working and creating magnificent scenery
Today I want to show how to make viscose paper to decorate felt products. Follow my step-by-step instructions and start experimenting. You will see that you can easily get a great result!
Materials
tops 16 microns extra-fine merino wool (or prefelt) 2 colors, about 80 grams of each color;
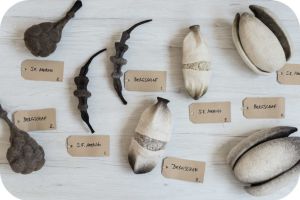
top viscose 4 colors, about 110 grams overall. I chose the colors Passion, Leaf, Honey and Calendula.
Accessories
soap
water tank
felting spray
felting roller
towels
scissors
ruler
air-bubble film
mashing cloth
starter
For my work, I will use a homemade two-color preference made of four layers of merino wool. The size of the prefetta is 90x260, weight is 110 grams. You can take an industrial preference or make a normal wool layout and lightly rub it to a state of small stability.

For decoration, I will use viscose in a combed ribbon produced by DHG four colors - 110 grams.
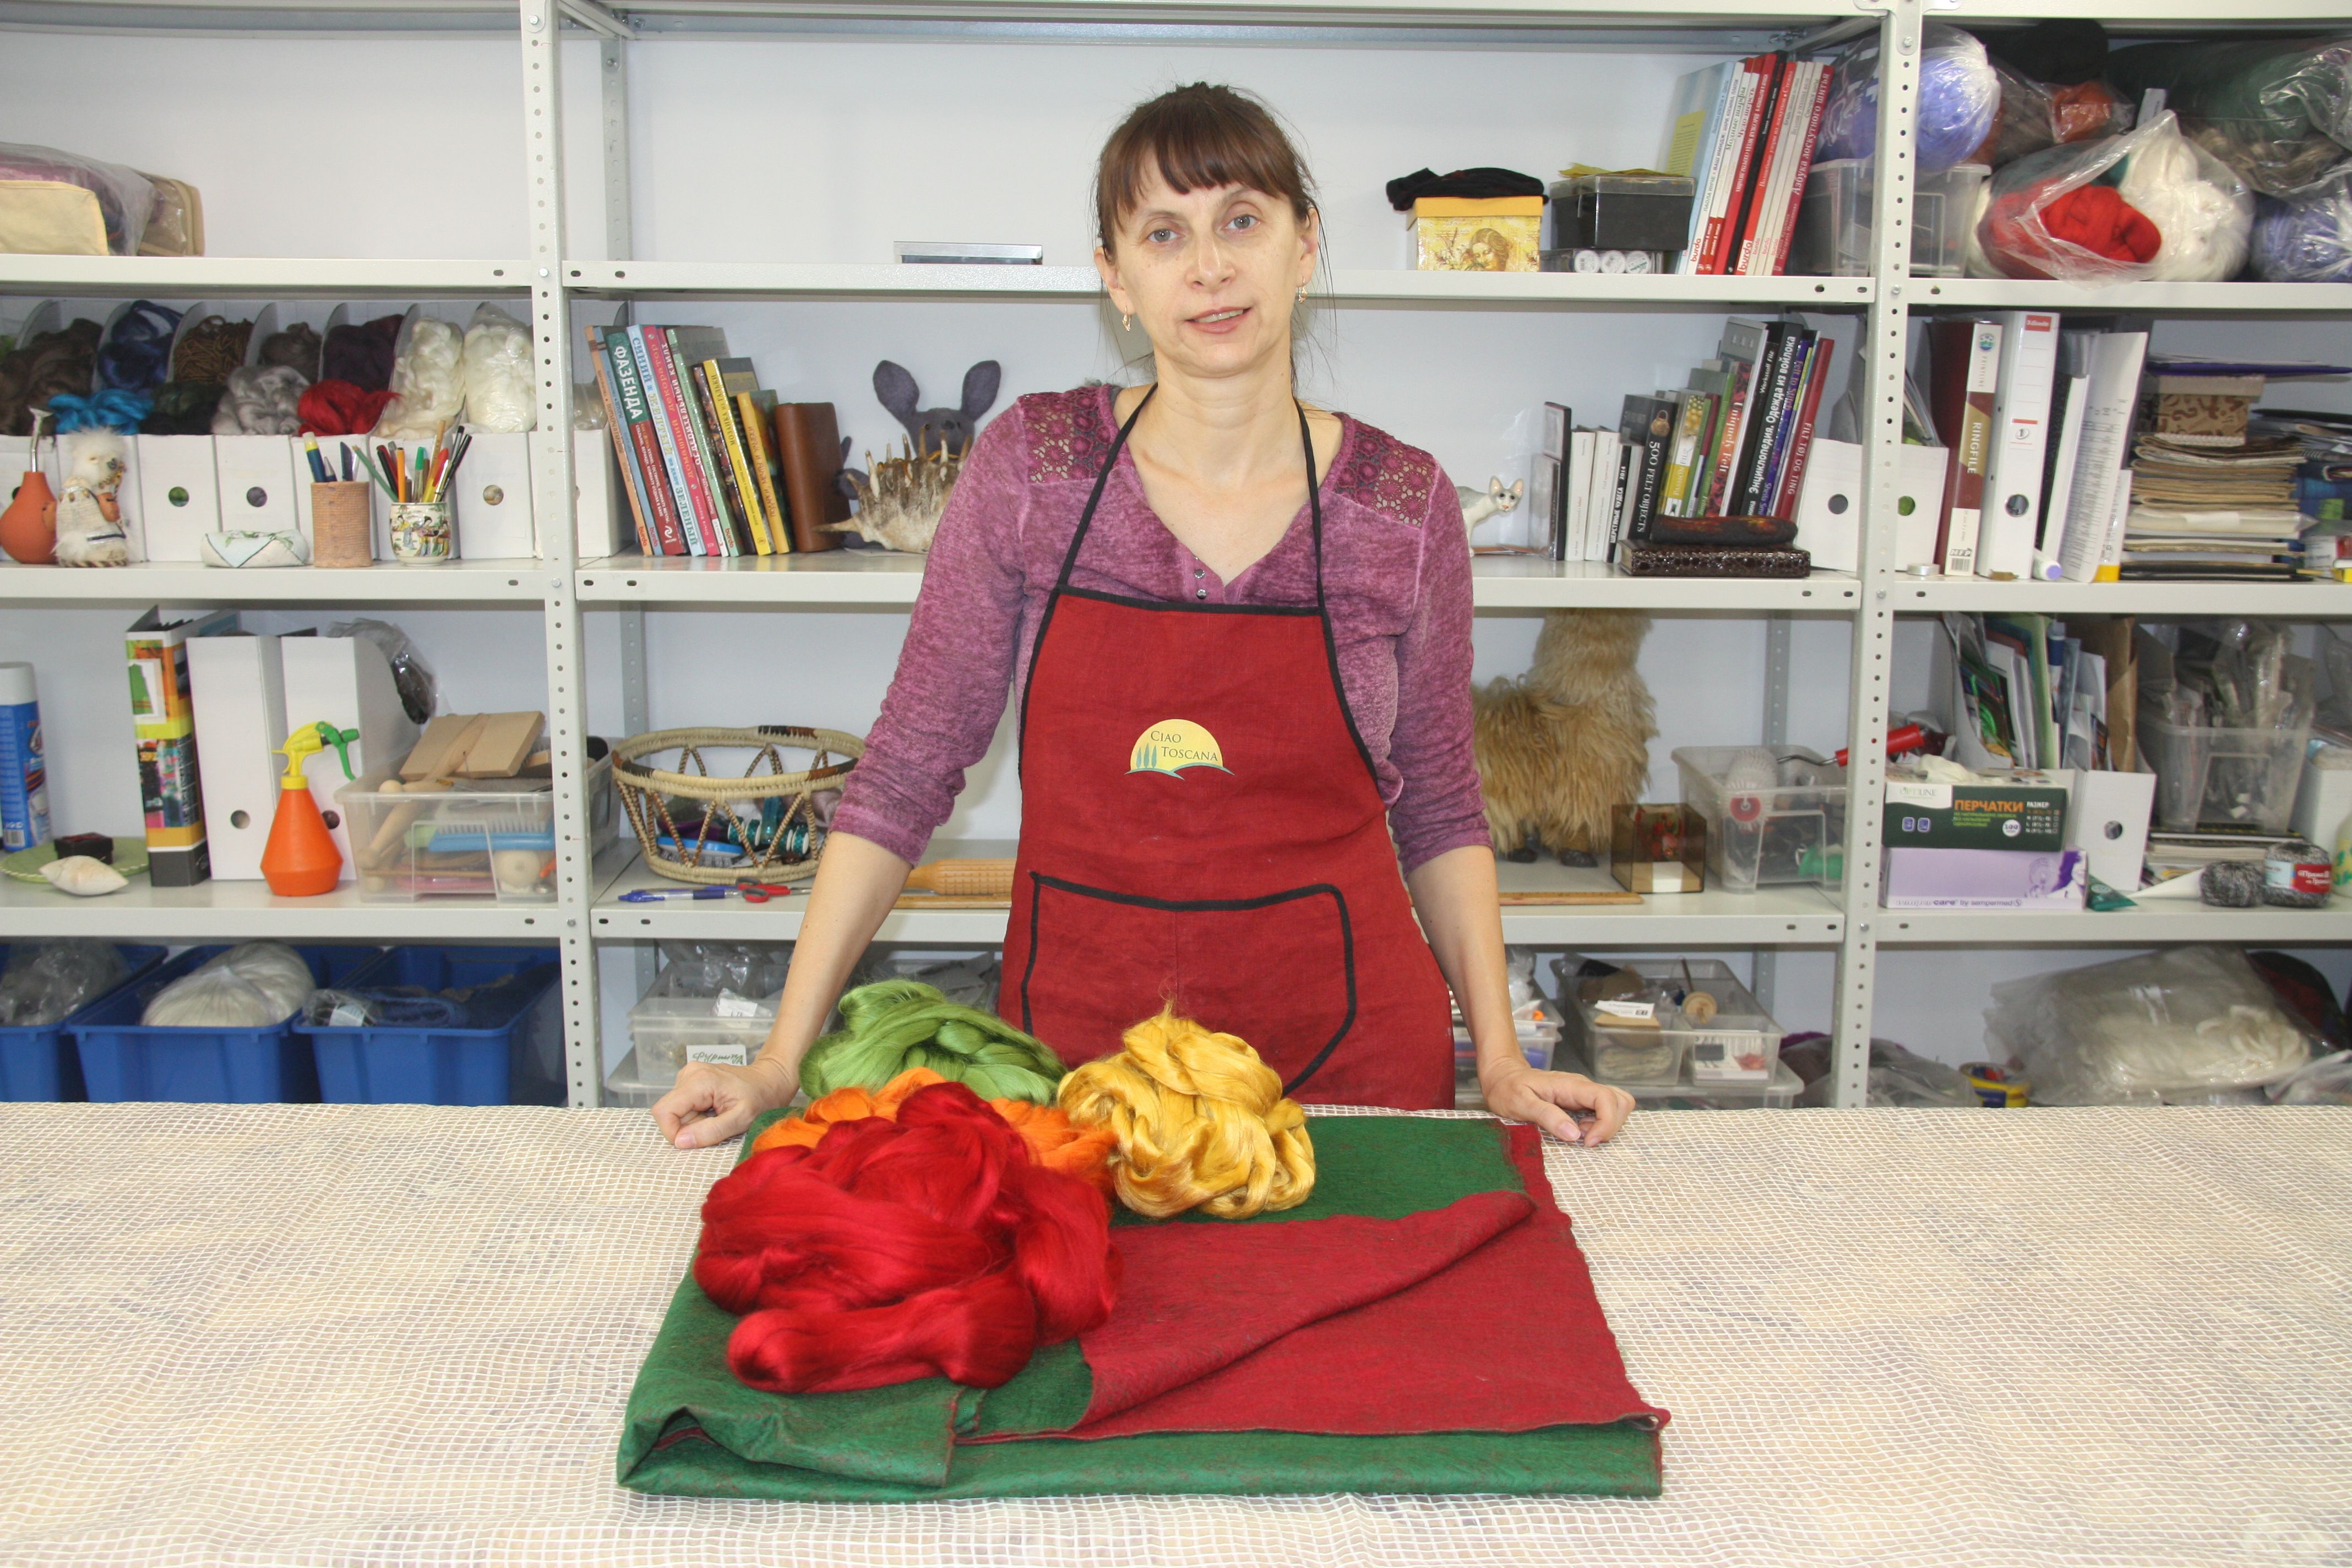
We will make viscose paper in two ways so that you can choose which one you like best.
Divide the combed ribbon in half to make the ribbon thinner, this will help to make the layout more evenly. With the layout of viscose, there was a great advantage - it does not electrify. The layout is quick and even, I was very happy with this fact.

We begin the layout of viscose. I work with fragments of 50x50 cm on an air-bubble film.
TIP: Work with a film put bubbles up - so it is more convenient to remove wet viscose stock.

The workpiece consists of 2 layers - vertical and horizontal. From which to begin - it does not matter. For this layer I used only 10 grams of viscose.

Using a spray gun, wet this layer well.

Cover the workpiece with a second piece of air-bubble film and distribute water well - the workpiece must be completely wet. We remove the film.

One way to fix viscose is to use starch. You can weld a starch paste and pour it on your workpiece. I'm buying a cylinder with liquid starch at the hardware store, which is used for ironing clothes and clothes. One package suffices me for several medium-sized projects. We water our starch with starch.

Again, blot out the resulting workpiece, then pick it up with the film and hang it in a suitable place to make the glass water.
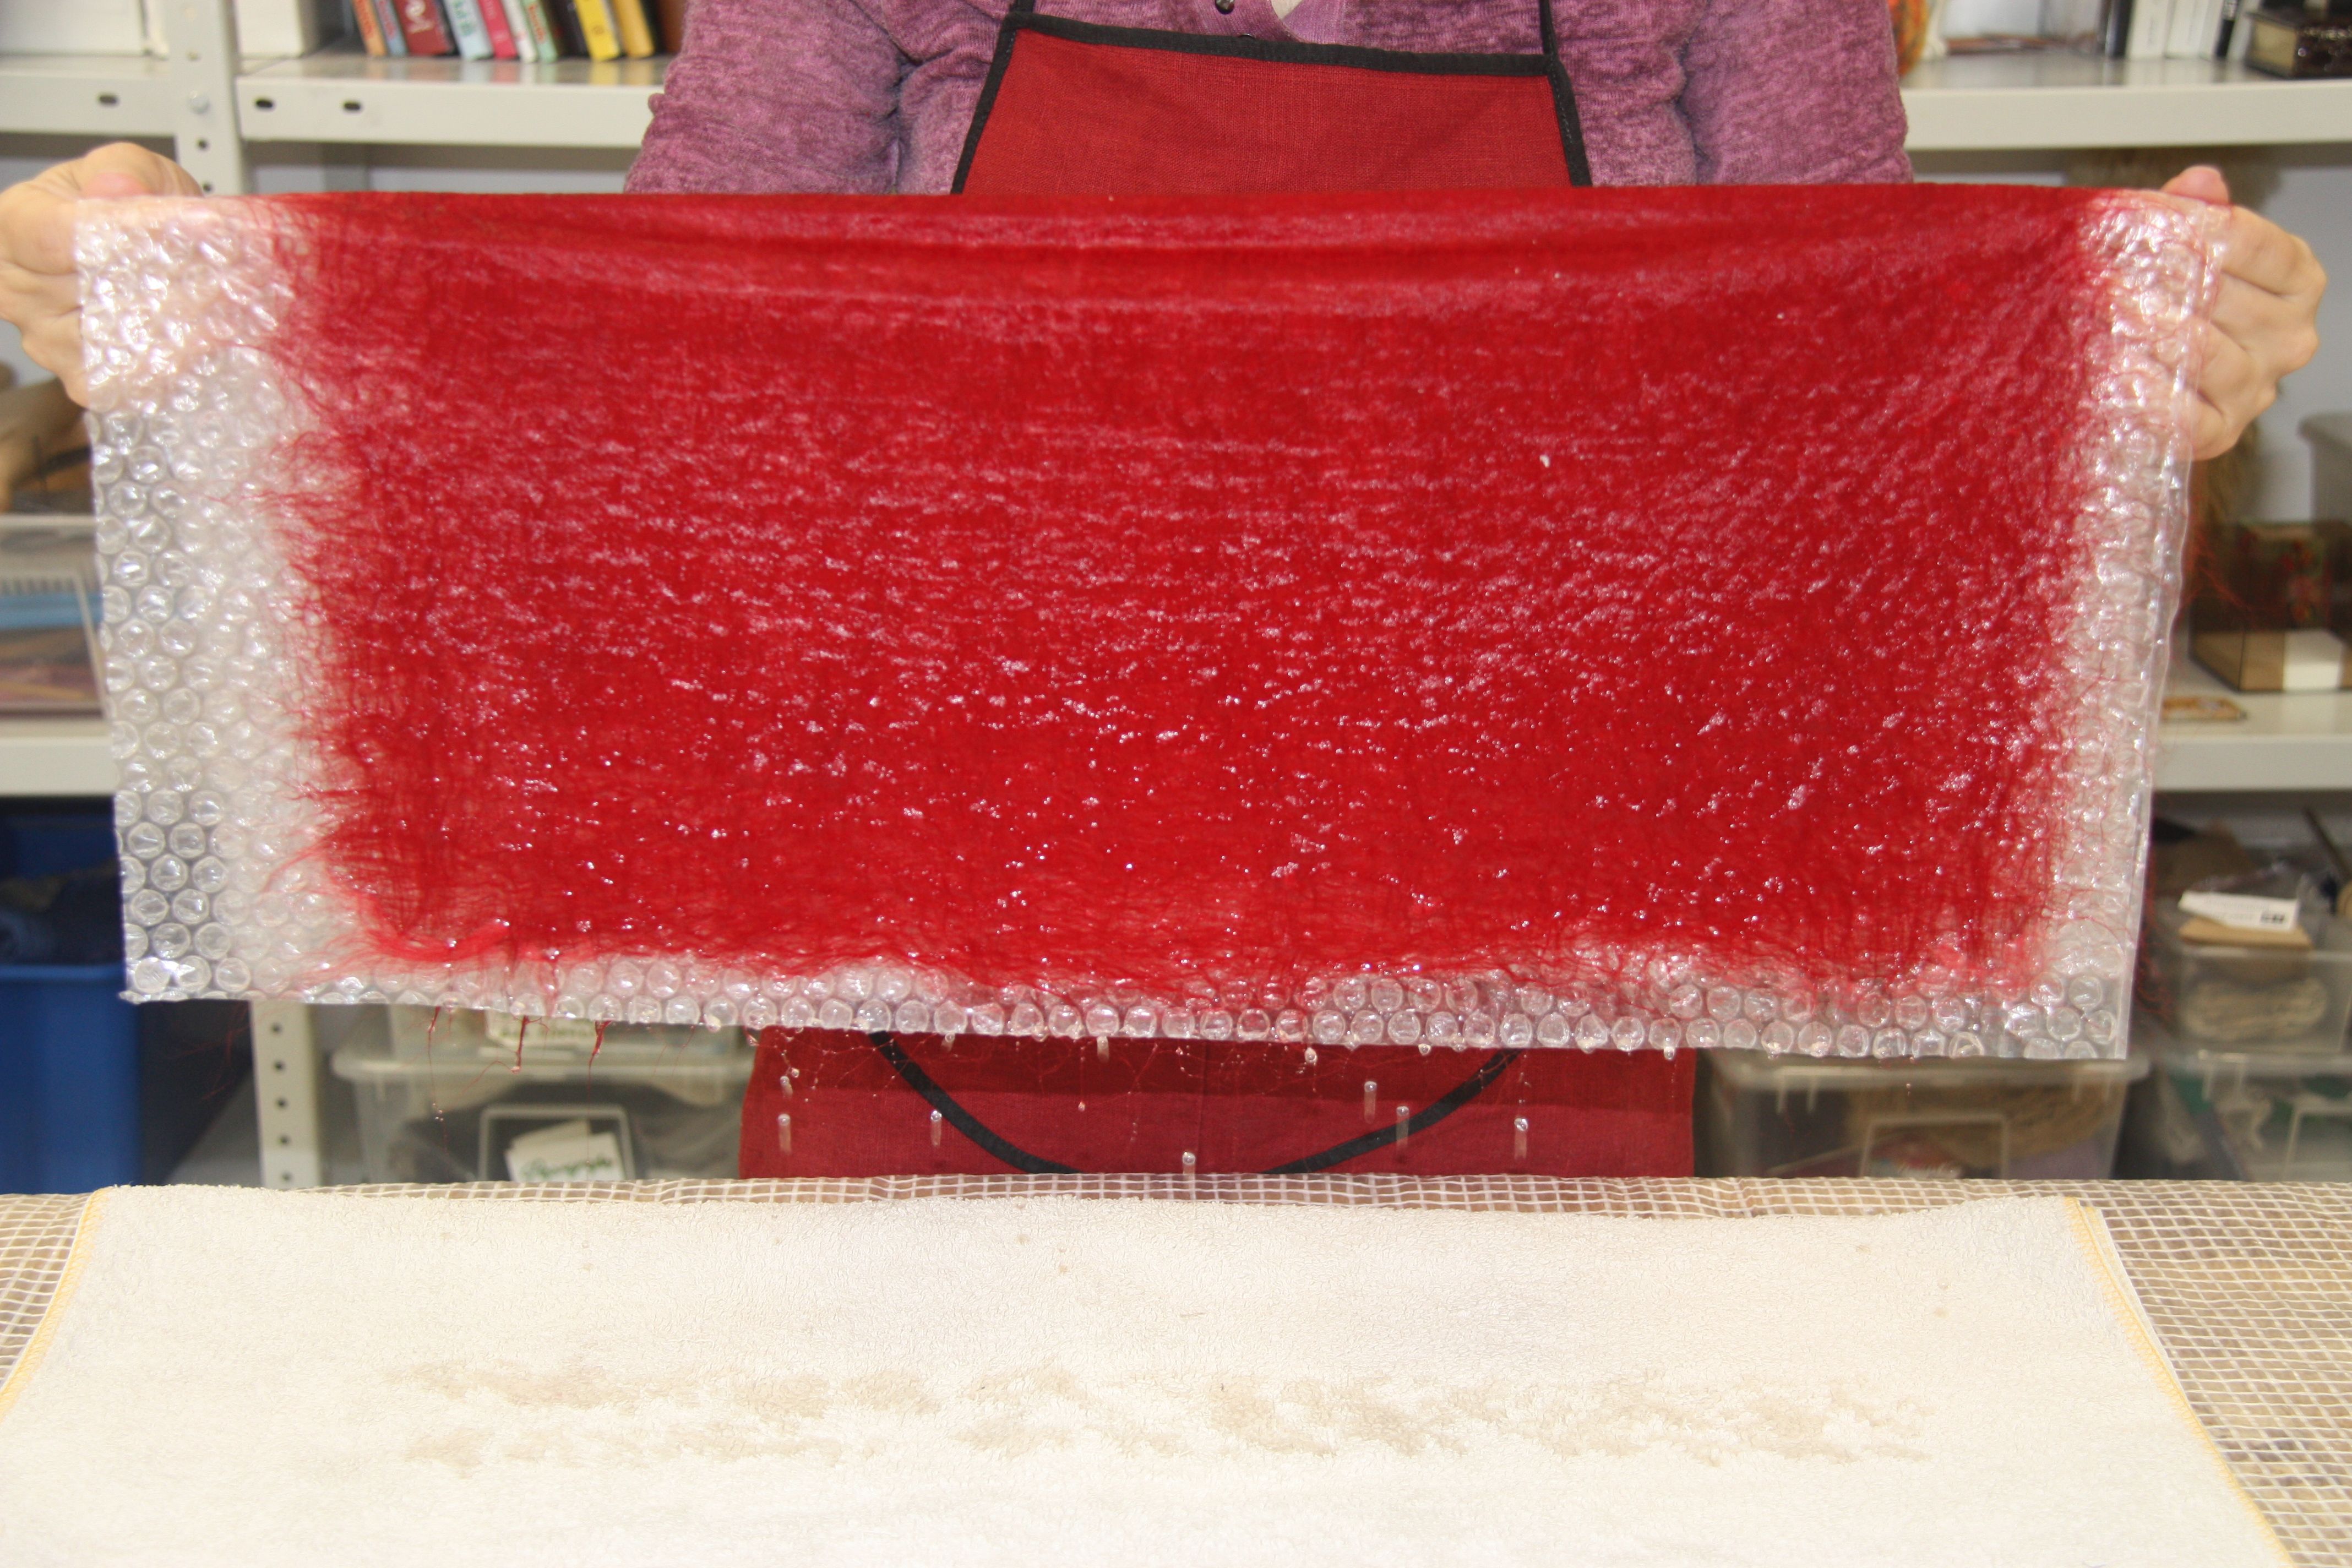
The second way of making viscose paper is to use a normal soap for felting. We spread the second layer of viscose, watered it, covered it with a net and rubbed it with a piece of soap. The more soap, the stronger will be your workpiece in dry form.

TIP: When the glass water, but the workpiece is still wet - it's time to transfer it to the towel to dry it. Do not wait for the viscose to dry out on the film - it will be more difficult to separate the fragile layout from the surface of the film, even with bubbles. Dry the workpiece by any available means - on the battery, on the dryer, just on the table on the towel. To prevent the stub from accidentally sticking, the first time is to turn it a couple of times.

When our paper of four wonderful colors is completely dried, you can continue to work. Starch paper looks a little more reliable, but overall, both options are great for our purposes. Before cutting, the paper can be ironed, it is leveled and it becomes easier to cut. Do not iron the raw viscose paper - the fibers will adhere to the iron and damage the layout. If you really need to dry the paper quickly with an iron, be sure to cover it from above with something, and check if the fibers stick to the protective coating.

We begin to cut out the decor of paper. It can be anything, anything - petals, leaves, geometric or fantasy figures. Do not make very narrow details, in the process of felting, they can be highly distorted and simply disappear. From very thin viscose paper on the finished object, too, can remain only traces, sometimes this is exactly what is required. Be sure to try and blow a sample before embarking on a large project.
Determine on the samples with the thickness of your viscose paper and the result that you got in the finished product.

Do not feel sorry to cut the edges - they dissolve when felting and give a fuzzy outline. However, this effect can be used specifically if there is such a design. Here are my leftovers. I use them in some other project - they can be stored almost forever.

But my decorative elements are squares and stripes. Such elements are very convenient to cut with a roller knife.

How to make a scarf from extra-fine merino wool with viscose decorations
And now comes the turn of preference. We begin to distribute the decorative elements on the surface of my future scarf.

Now we pour water, we rub the workpiece through the grid to the state of good stability. Check that the viscose is fixed on the wool.

We twist the scarf on the pipe for skating and transfer the workpiece to the other side.

We decorate the second side in the same way.

Now it remains to bungle our work. We wind it on the pipe, fix the roll so that it does not turn around, and roll a few cycles 100-200 times, each time changing the direction of skiing.

Now you need to work through the edge of the product.
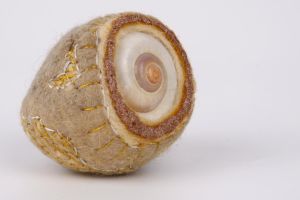
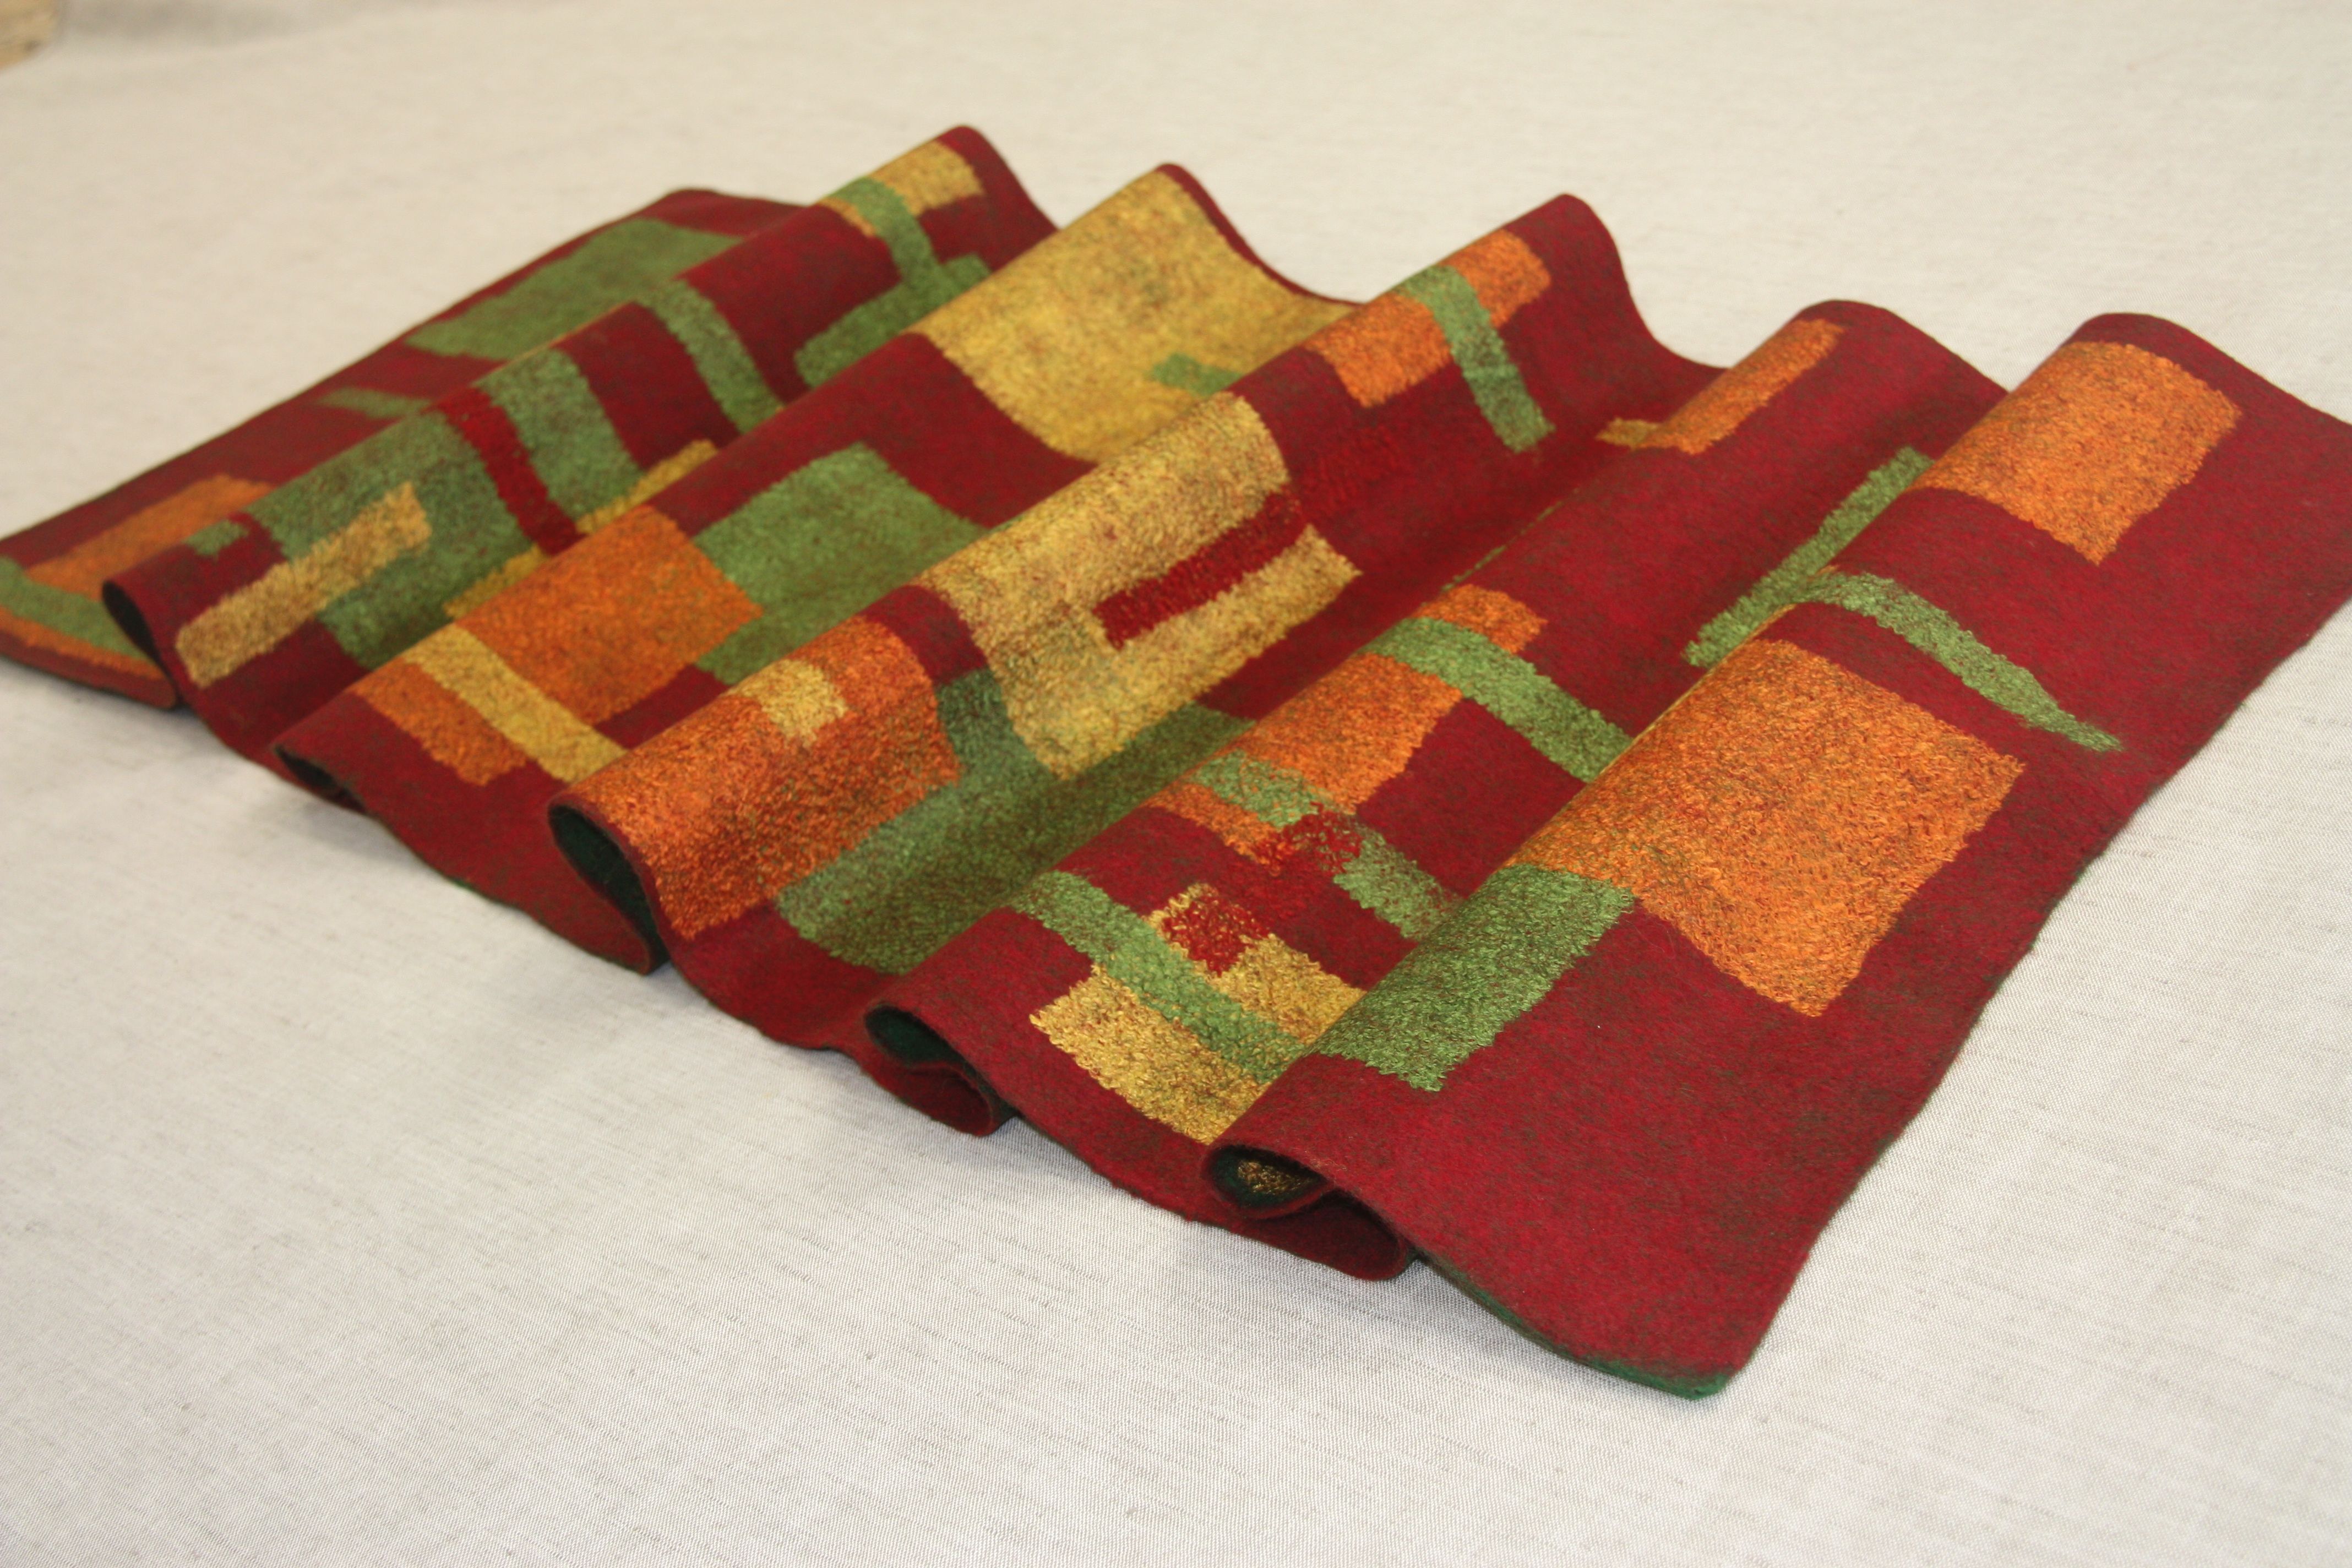
Carefully roll out and iron the finished product to make the surface smooth.

We rinse and iron the scarf from both sides, dry the product and admire the result.
We thank our Italian friends, the staff of the DGH factory for the information provided.
And also Nina Demidova for the photo and description.